If you’ve ever spent more than three minutes scrolling through Instagram, you know that Iceland is so hot right now. Well, not literally, it’s actually miserably cold this time of year, but you know what I mean. The Land of Fire and Ice has become an extremely popular travel destination in the past few years largely due to three factors: Game of Thrones, social media and an incredible marketing campaign from Icelandair dubbed My Stopover (when booking any flight over the Atlantic, the airline offers a free layover in Reykjavik for a time period of your choosing). This, coupled with cheap flights to Iceland offered by budget airlines such as Wow Air, have made Iceland the millennial’s vacation choice in recent years.
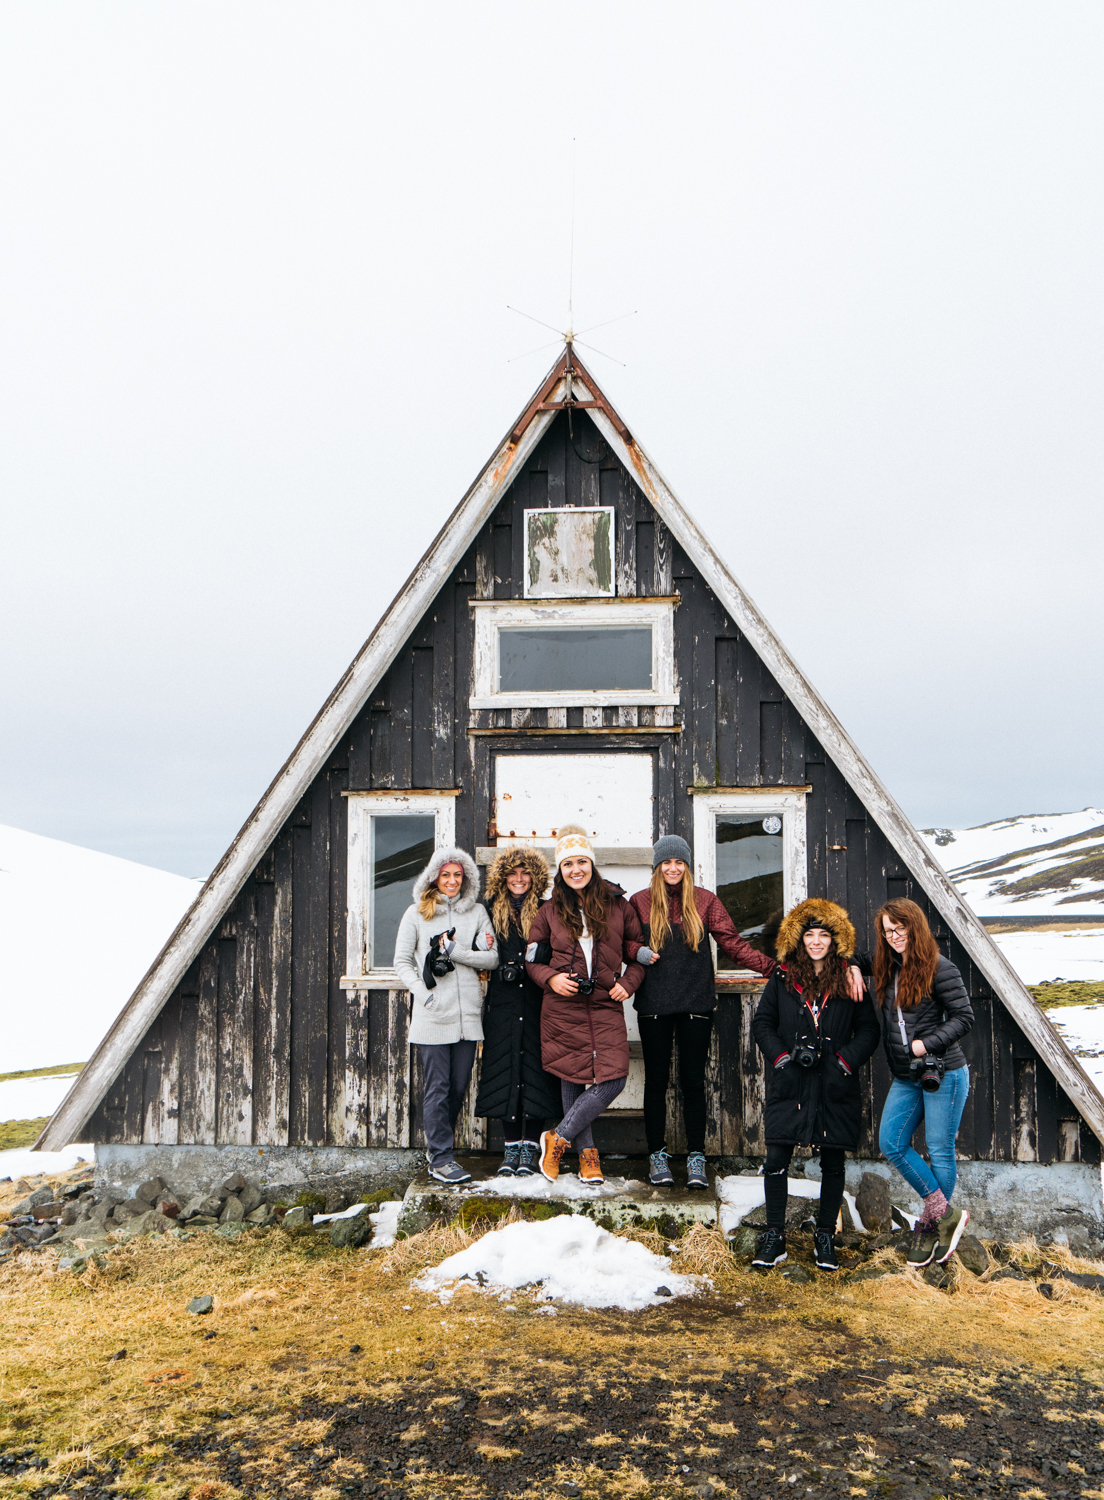
Iceland had been on my bucket list ever since I saw an Urban Outfitters campaign photographed there years ago. Scrolling through photos of the Northern Lights and jaw-dropping waterfalls daily on the ‘gram finally led me to spontaneously book a trip last March. And because I don’t do anything half-assed, I invited not 1, not 2, but 6 of my closest girlfriends to come… and they all said yes! We road-tripped around the western portion of the country for a week — in two rental SUVs from Lagoon Car Rental as our group was so large — and had the time of our lives. Iceland is so effortlessly beautiful and photogenic, it’s no wonder it has become such a pilgrimage for photographers and adventure seekers.
Here’s the thing: Iceland is not cheap. Thankfully, if you’re okay roughing it a little to save some coin, there are a few easy things you can do to mitigate expenses once you’re there.
Photo: Ruthanne Zouboukos
Getting There
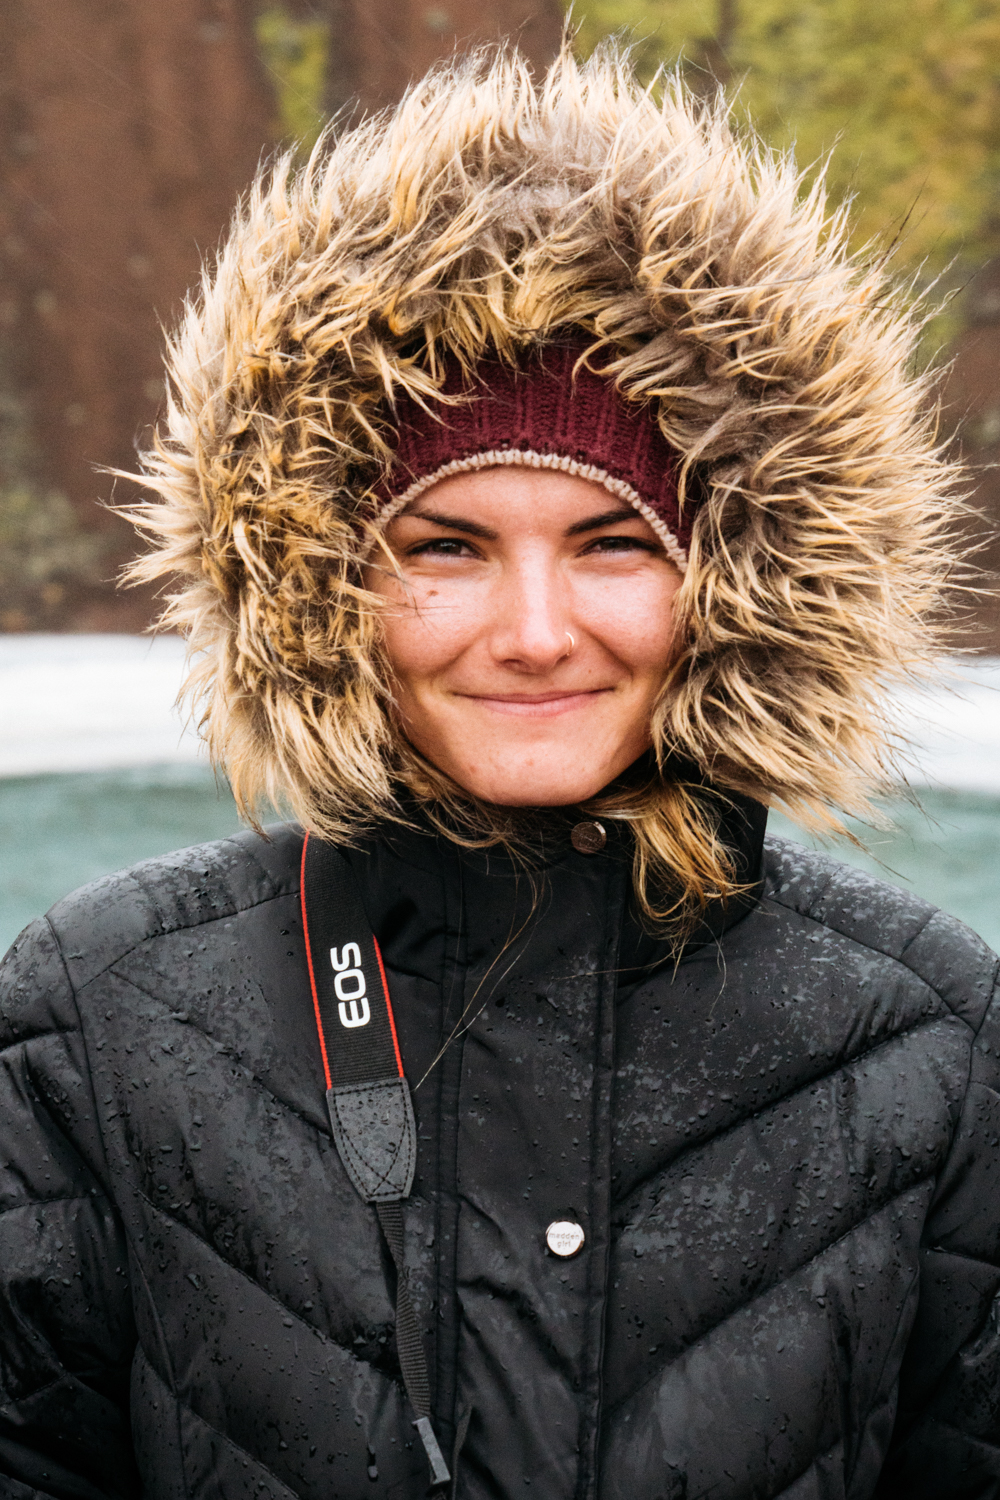
When planning a trip to Iceland, first you’ll need to decide when you want to go. Days are extremely short (and cold) in the winter months, and extremely long (and still chilly) in the summer months. Note: if you’re on a mission to see the Northern Lights, you’ll want to book sometime between late September-late March. We went in mid-March (this exact time last year!) and were treated to an epic show of the Northern Lights one evening — we also encountered hail, rain and snow in the week we were there, but the cheaper off-season prices were worth it.
Photo: Ruthanne Zouboukos
Airfare prices range dramatically given the airline and time of year you’re flying. I personally flew Wow and had a fine experience: roundtrip tickets were around $320, but expect to pay extra fees for everything: checked bags, even food and water on the plane. I’ve heard some horror stories about canceled flights and lost baggage, so book at your own risk. Icelandair and other airlines also offer reasonable airfare if you keep an eye out for deals and are flexible on travel dates. You’ll fly into KEF, about 45 minutes outside of Reykjavik. And then the adventure begins!
Your Itinerary
We went the Airbnb route (which worked out great) but if you are traveling solo or with just one or two other people, I highly recommend booking a campervan and foregoing accomodations altogether (I’ve heard great things about KuKu Campers). If you do go this route, you can rent a cooler and buy food to make on the road. Looking to splurge? Stay a few nights at the Ion Adventure Hotel — simply glorious.
Iceland’s most popular spots are located within the outer perimeter of the island, along the Ring Road (check out this super helpful map of all the highlights). Many people choose to make one big loop around the entire country (827 miles total), but as we only had a week, we chose to focus on the western portion of the country. Note: if you want the freedom to deviate onto the F-roads dotted around the island to access more remote spots, you’ll need a 4x4 vehicle. Note: this time year, some of the F-roads will likely be closed due to snowpack.
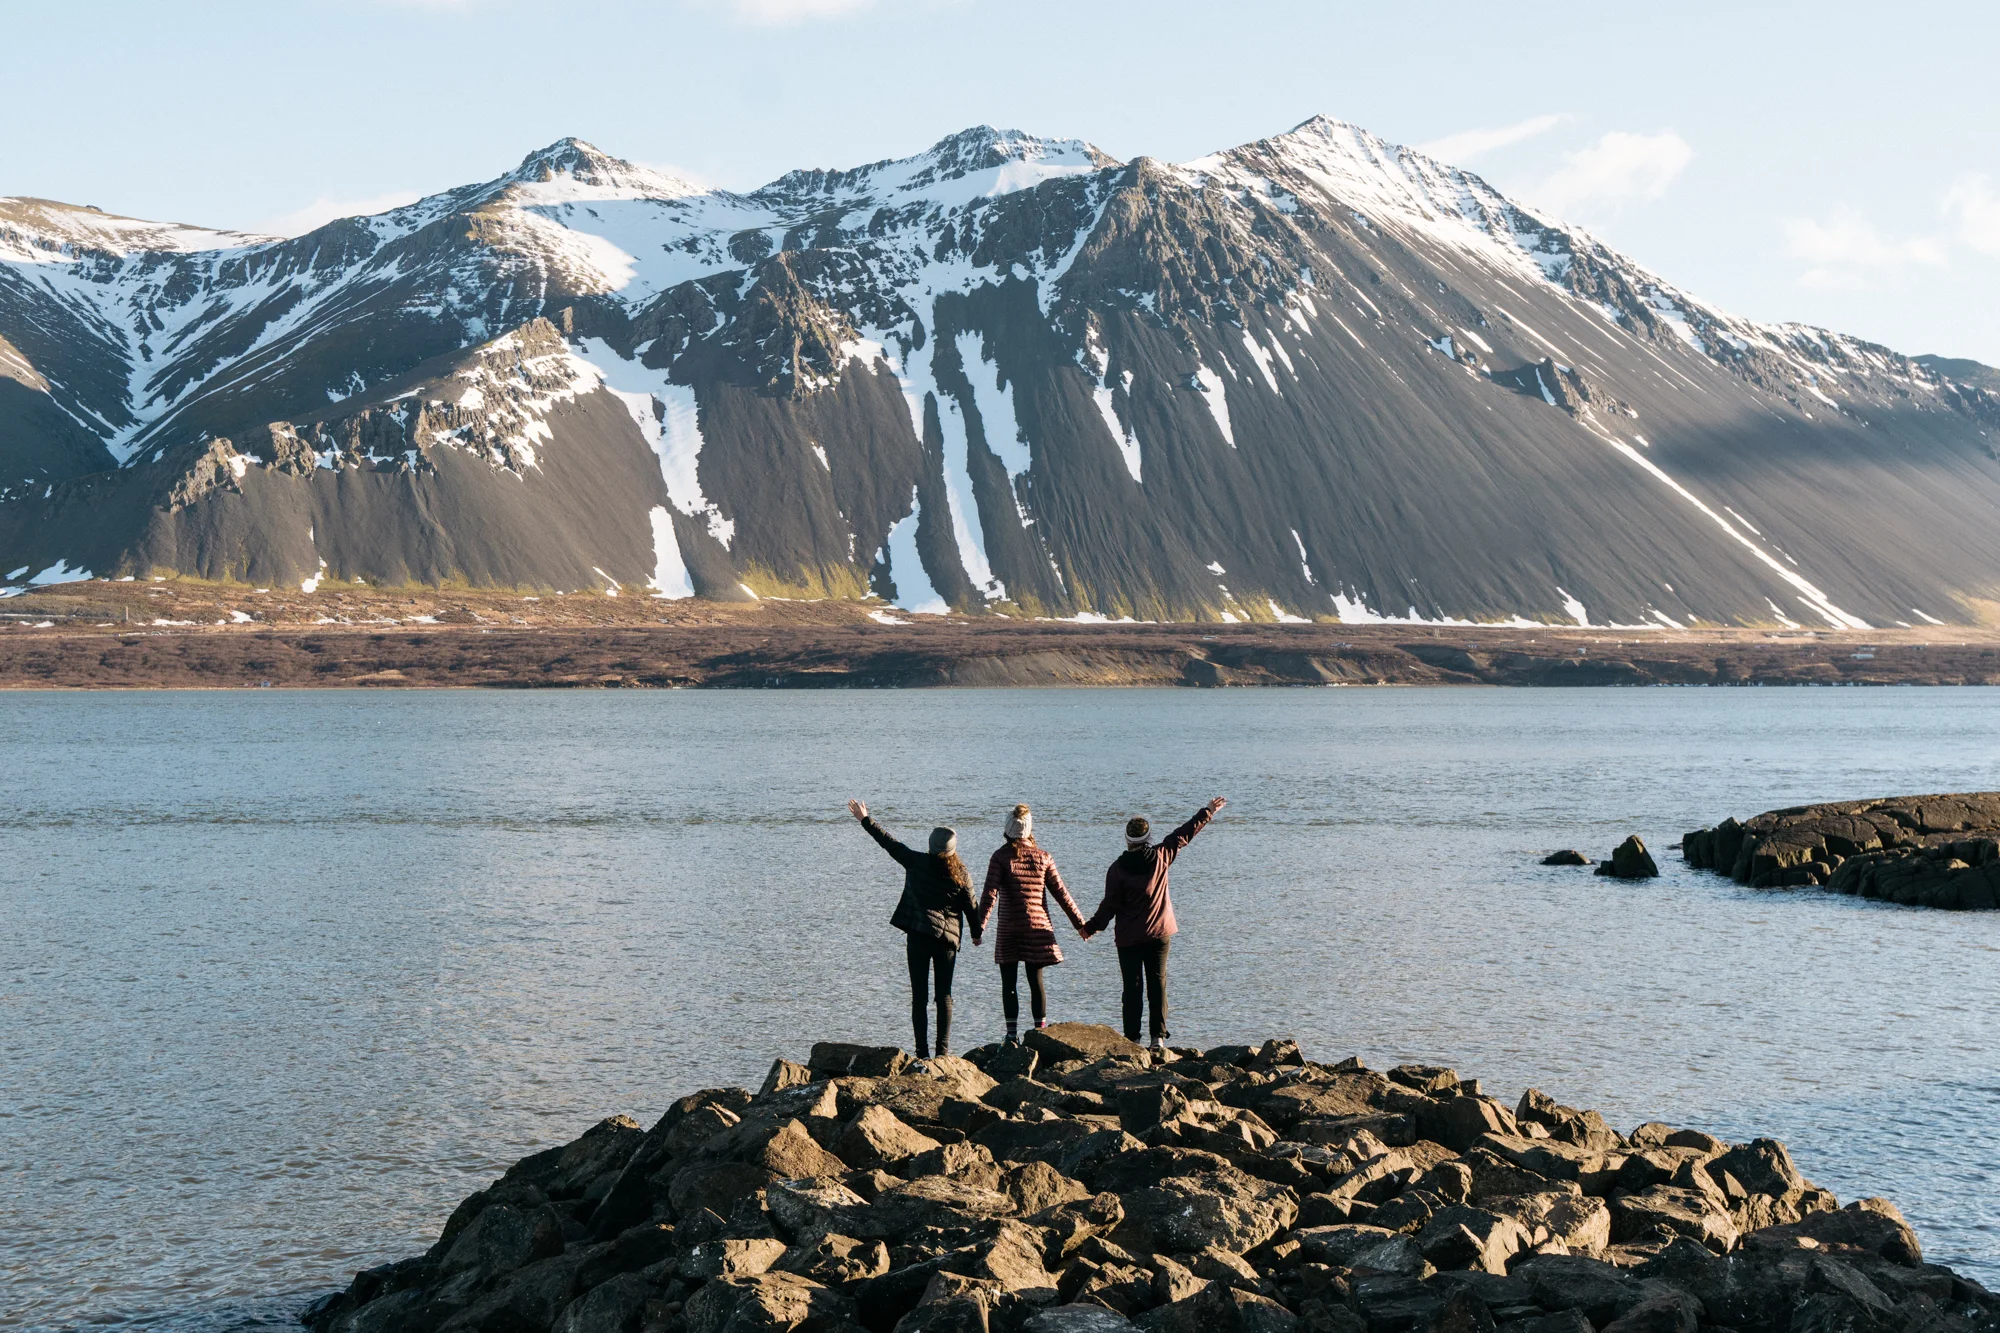
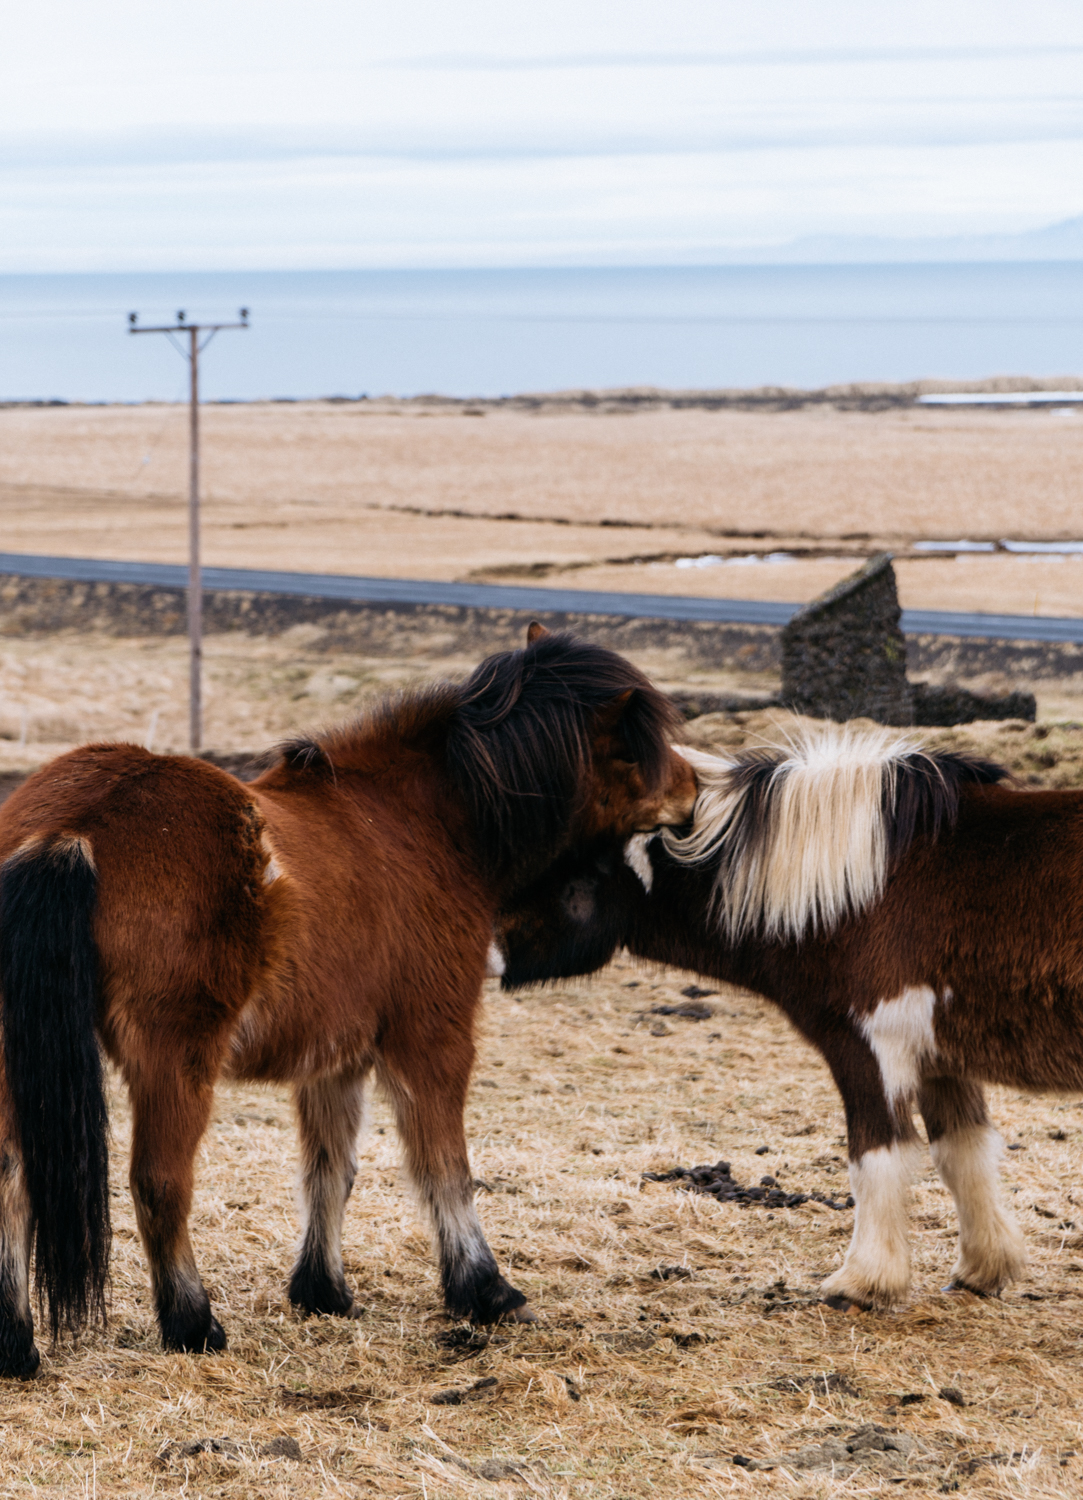
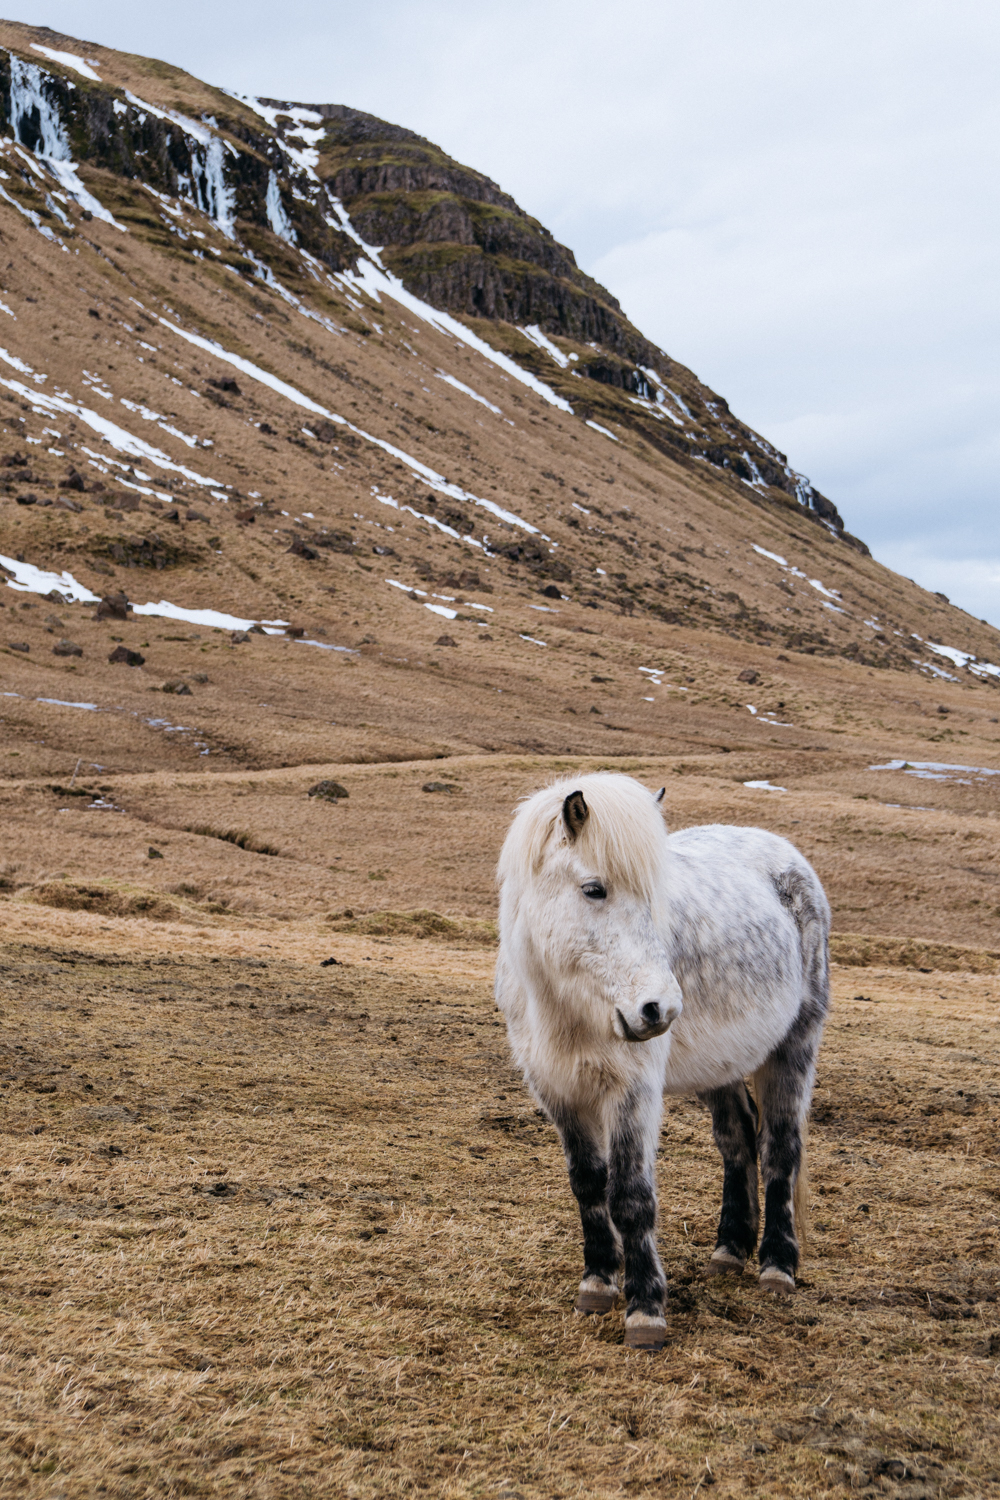
After landing in Reykjavik, we snaked our way up into the Northwestern Fjords as far north as Hvítserkur, then retraced our route back to Reykjavik, then down the southern perimeter as far as Vik and Jökulsárlón Lagoon near Vatnajökull National Park. We packed in as much as we could, spending many hours in the car each day, and allowing plenty of time for stops to pet horses. It wasn’t a relaxing vacation by any means, but that’s not what we were there for.
I normally don’t plan this much when traveling as I like to leave room for spontaneous adventures, but I created a super detailed itinerary and map as our group was so large — you can download our entire trip itinerary here.
Or if you just want a summary, here’s essentially what we did:
Day 1
Land at KEF and get rental car (stop by Joe & the Juice for a refreshing juice or smoothie in the airport after you land)
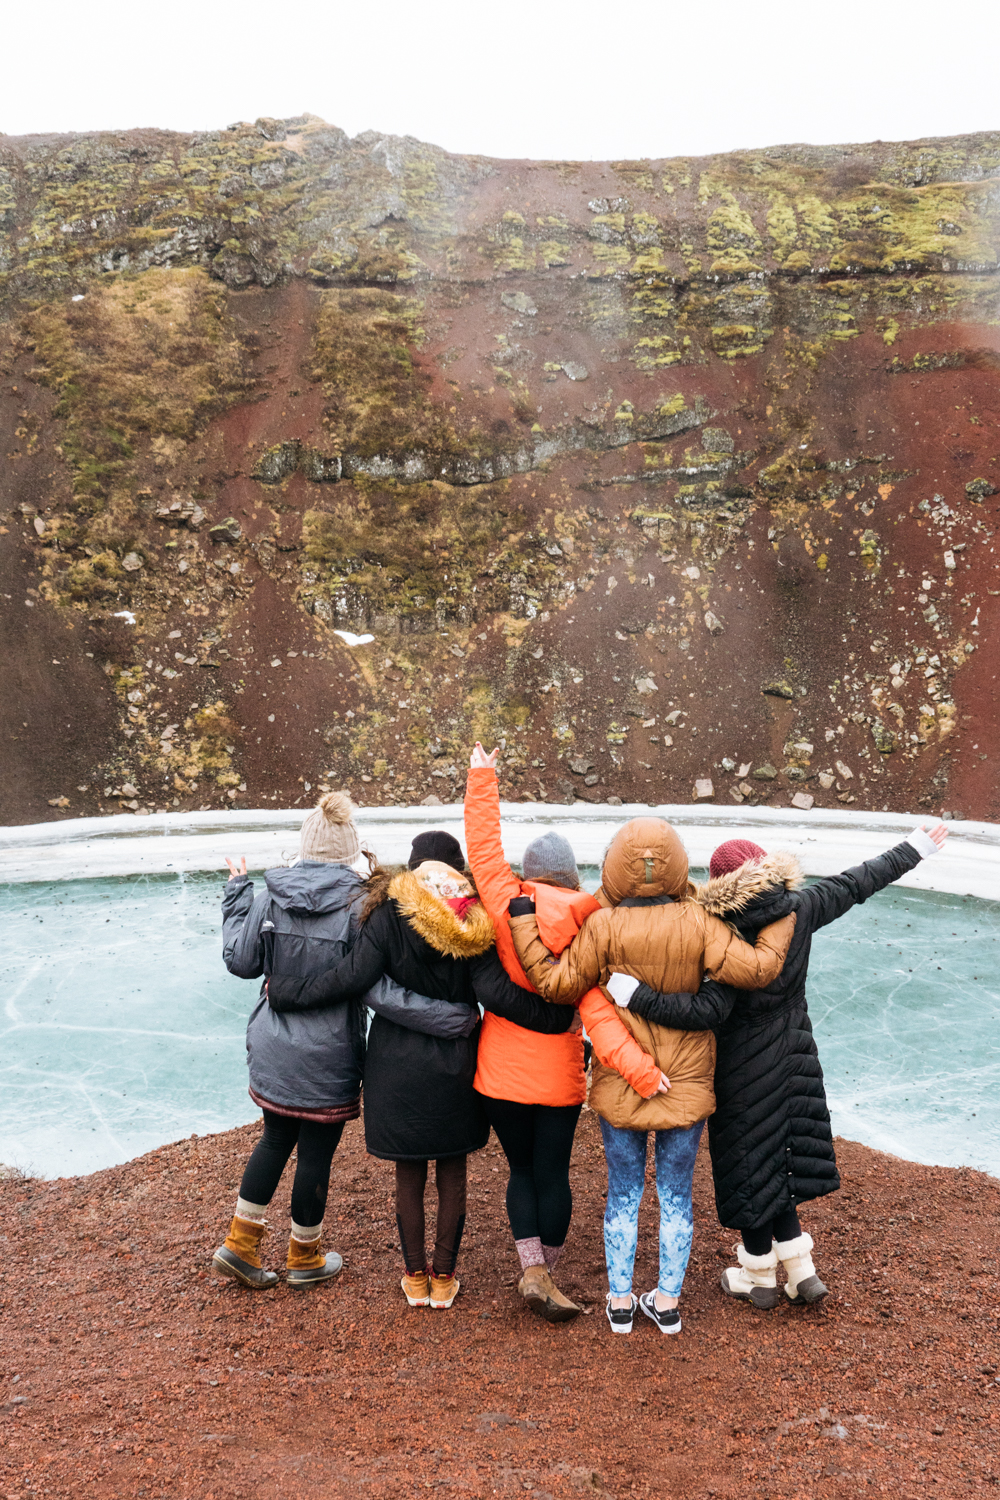
Explore Golden Circle: Gullfoss, Kerid, Strokkur
Stay in Reykjavik
Day 2
Coffee/breakfast at Reykjavik Roasters
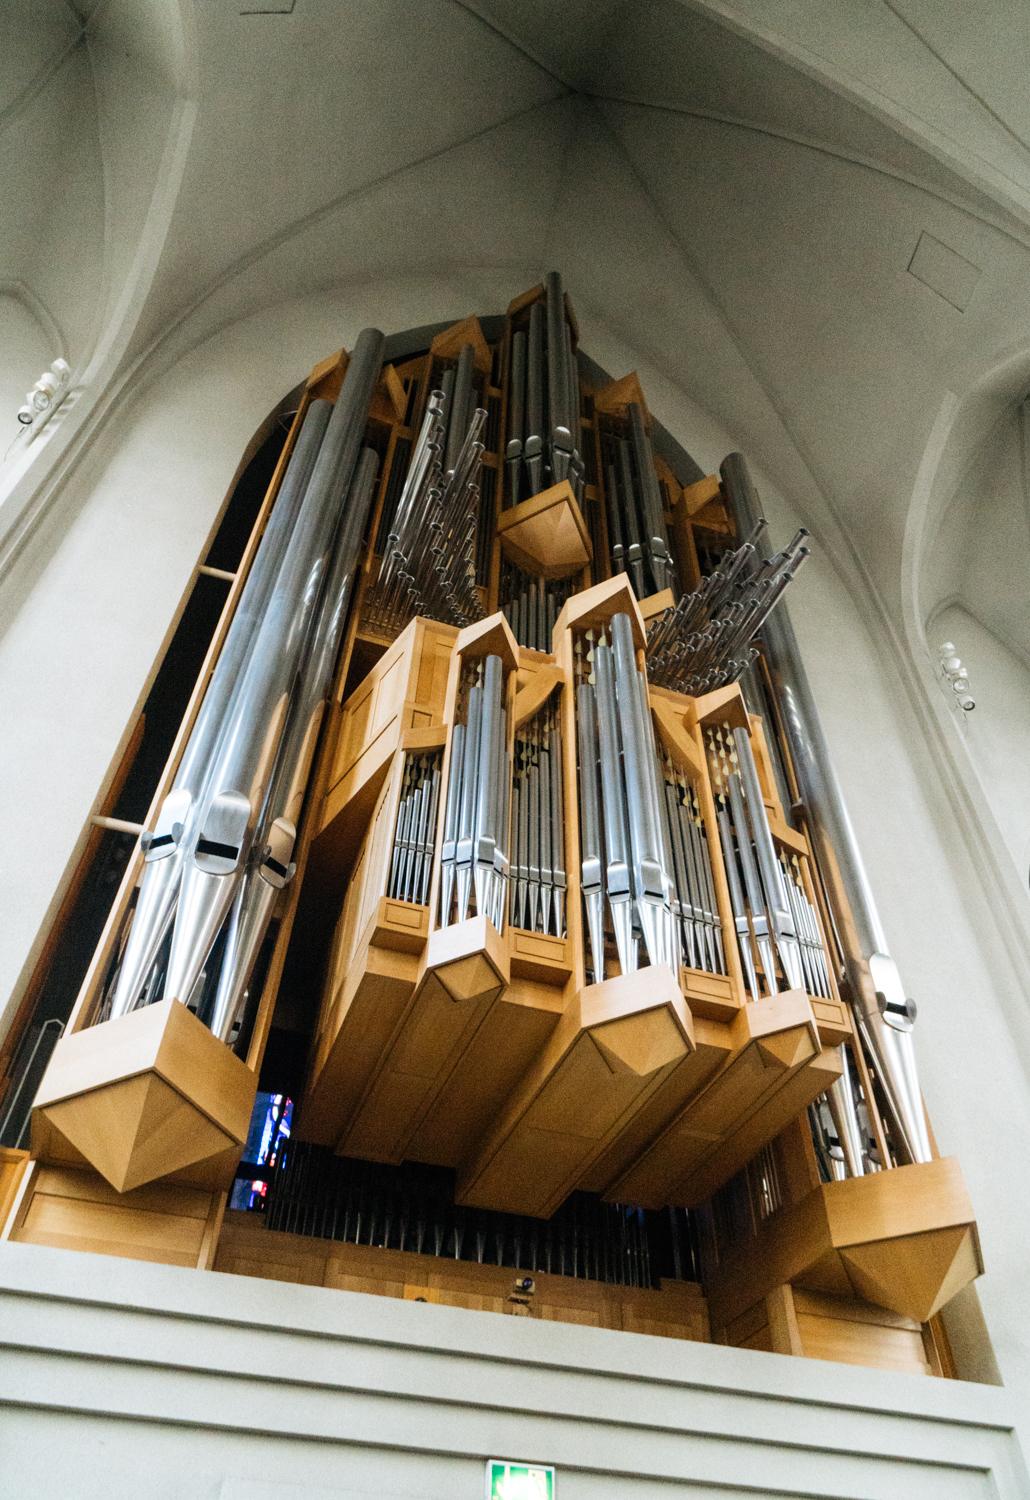
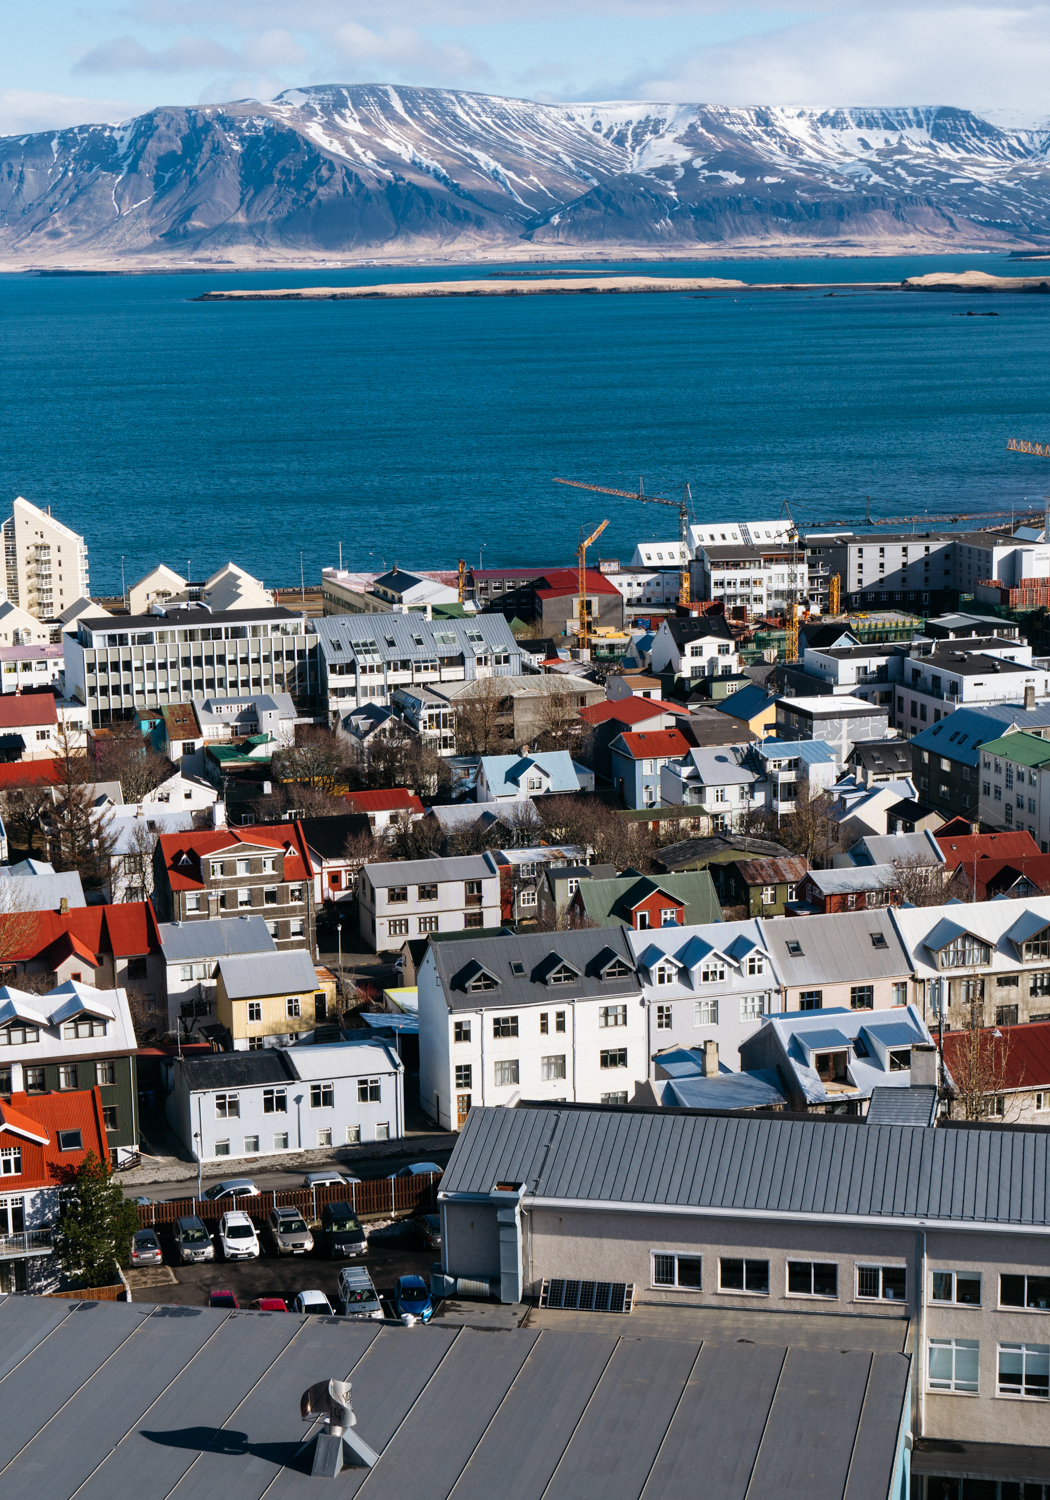
Explore Hallgrímskirkja Church (it’s worth paying the extra $10 to see the view from the top)
Drive to Grundarfjordur
Sunset at Kirkjufell
Photo: Ruthanne Zouboukos
Day 3
Drive to Hellnar & Arnarstapi and take time to explore Northwestern Fjords
Drive to Hvitserkur
Day 4
Sunrise at Hvitserkur
Drive back to Reykjavik
Midday hike to Reykjadalur Hot Spring Thermal River (allow at least 4 hours for this incredible experience)
Treat yourself to a nice dinner out (we loved Burro Tapas + Steaks)
Experience Reykjavik nightlife — it gets wild!
Day 5
Early morning: leave for Skogafoss
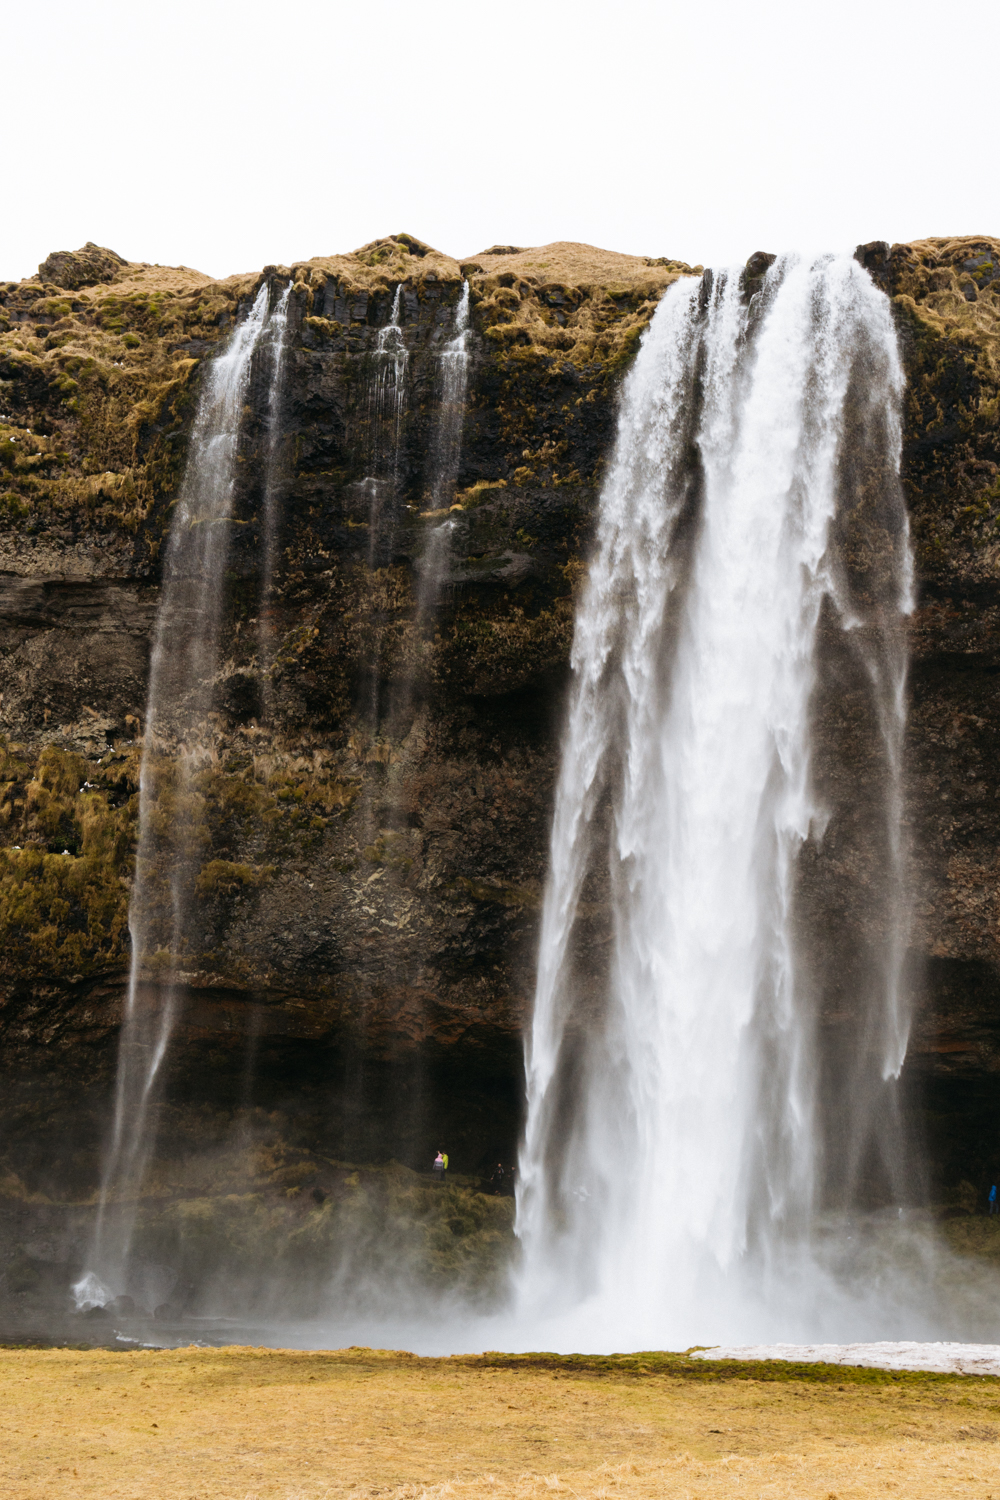
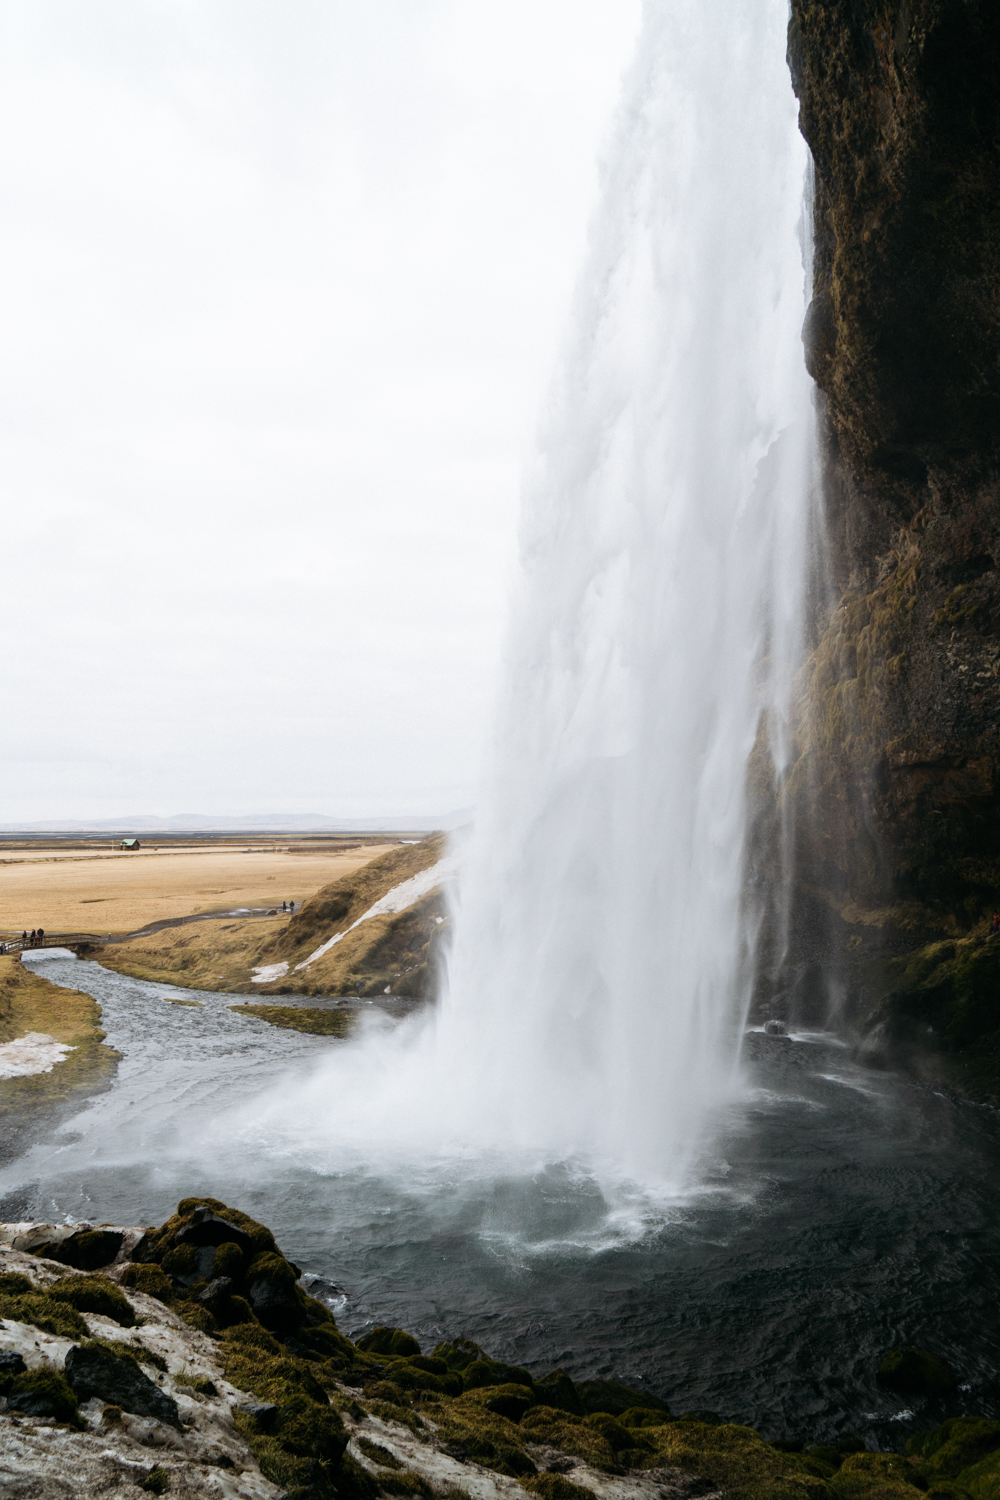
Explore Skogafoss and Sdjalanasfoss Waterfalls
Hike out to plane wreck at Sólheimasandur (a very boring flat 5 mile hike round-trip)
Stay in Vik
Photo: Ruthanne Zouboukos
Photo: Ruthanne Zouboukos
Day 6
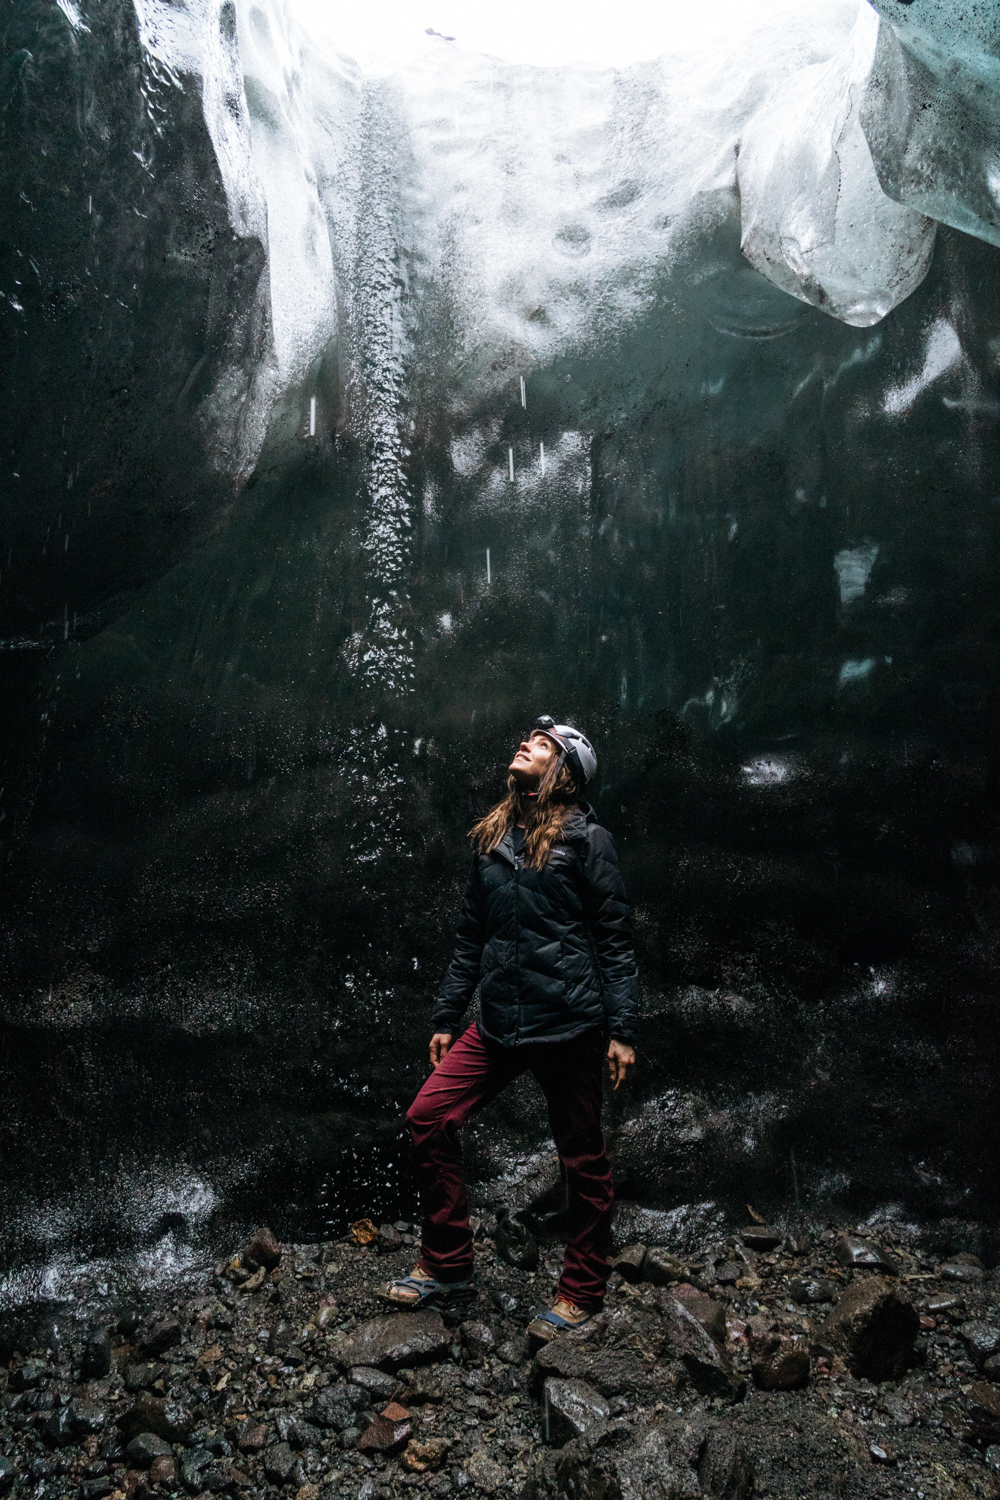
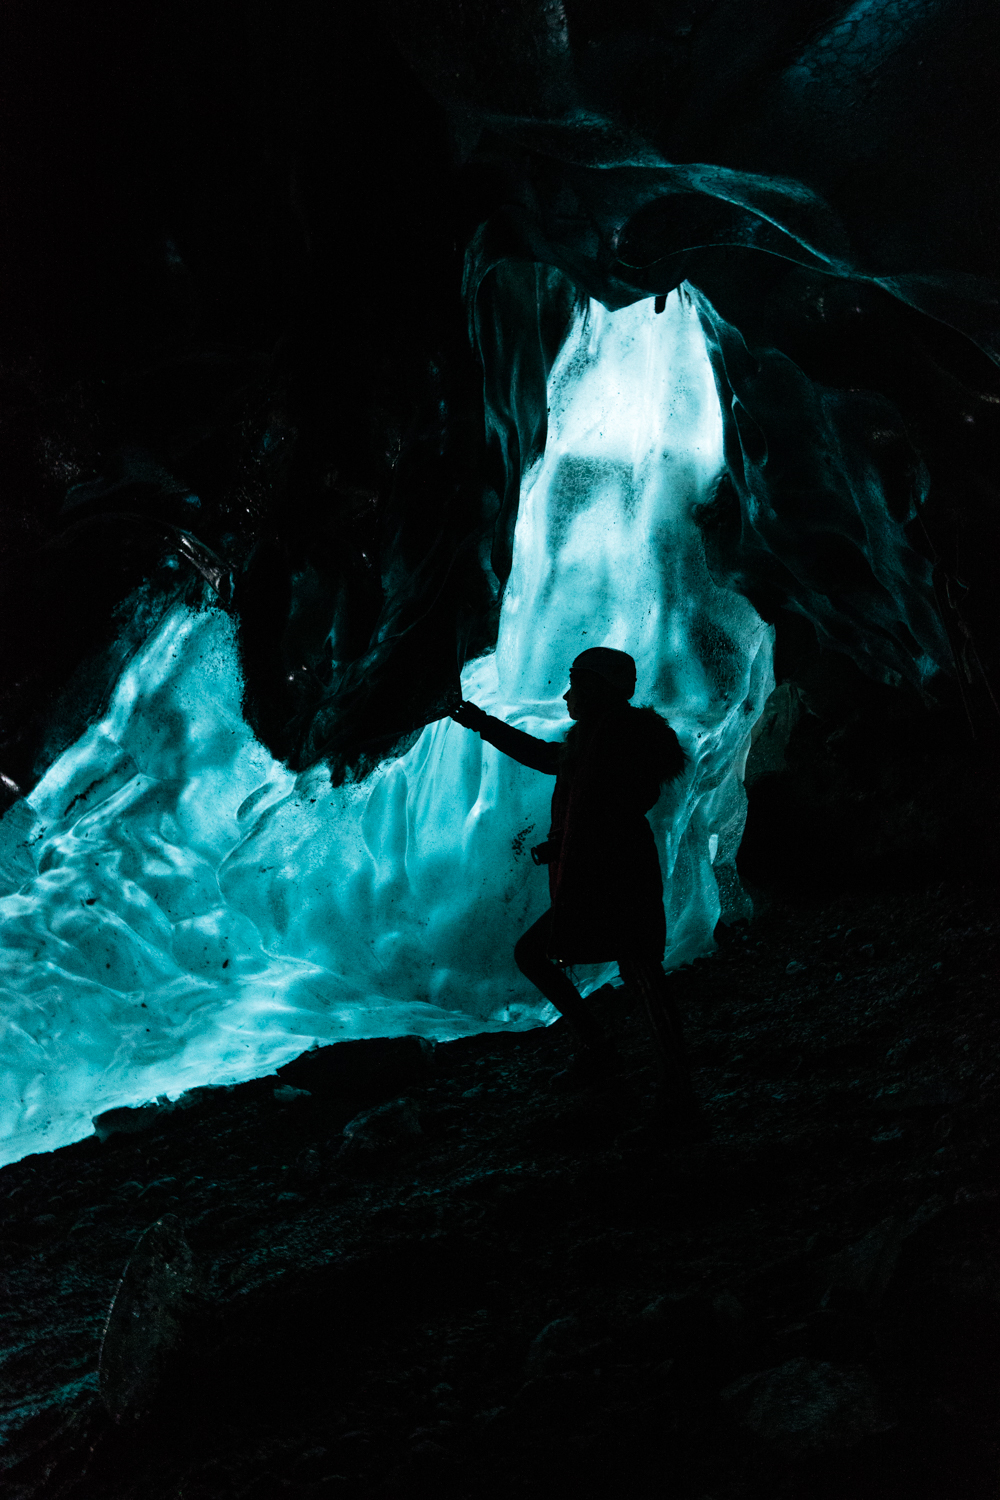
Drive from Vik to Vatnajökull Glacier (you can book an ice cave tour, but I thought this was overpriced and not worth the money)
Drive to Jökulsárlón Lagoon where the infamous Diamond Beach is located (ice is mostly melted this time of year)
Start drive to Selfoss
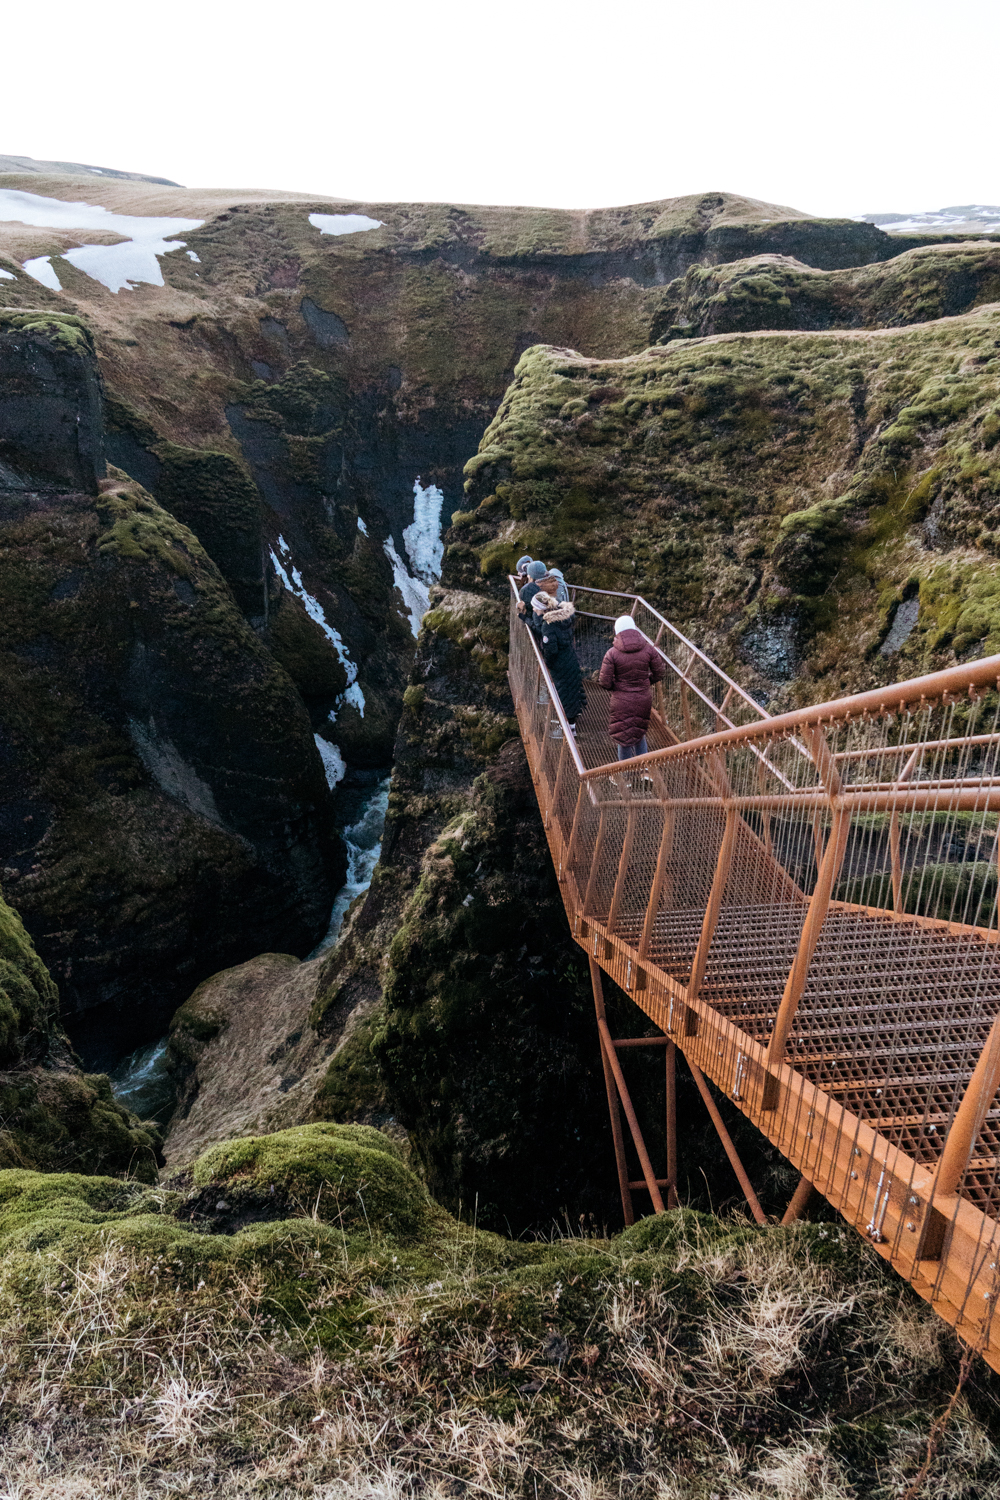
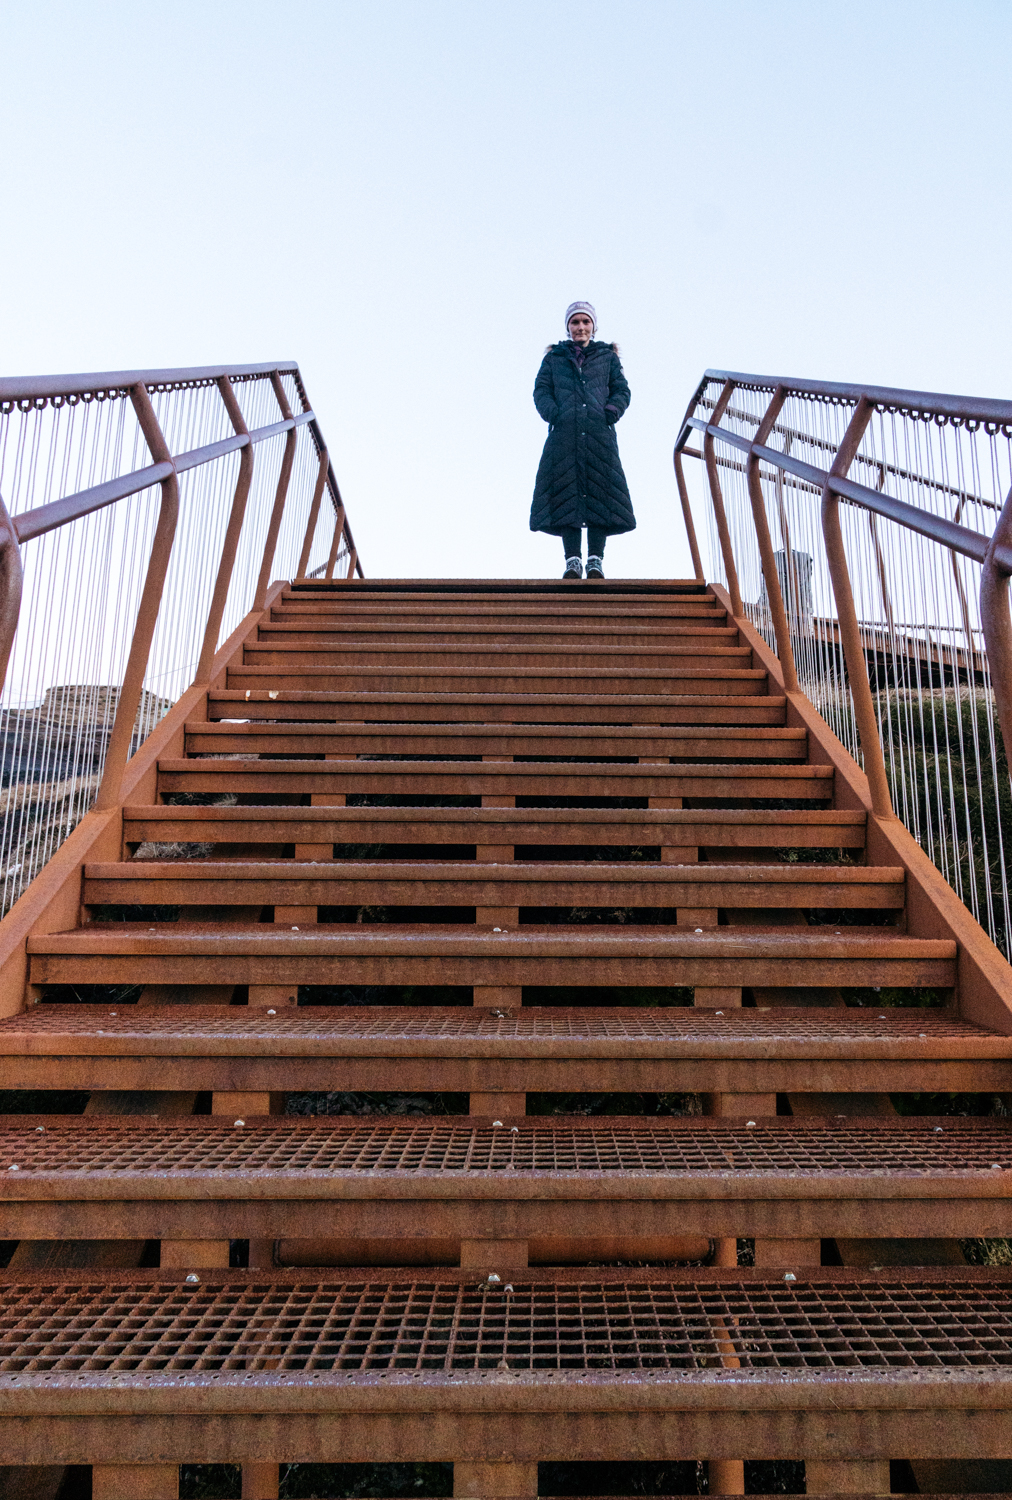
Stop at Fjaðrárgljúfur for photos (gorgeous, must see)
Stay in Selfoss overnight
Day 7
Depart Selfoss for Blue Lagoon (reservations must be booked in advance)
Enjoy leisurely morning at Blue Lagoon pampering yourself
Head back to KEF and return rental car
Fly home
Iceland Photography Tips
Iceland is a photographer’s paradise, so come prepared! In addition to your camera body (I shoot on Sony’s A7R iii), you’ll want a range of lenses: such as a wide angle (i.e. 16-35mm), mid range (i.e. 24-70mm), and telephoto (i.e. 100-400mm). A sturdy tripod is necessary, especially for shooting the Northern Lights at night. If you have a drone, definitely bring it. I also brought my handheld Sony RX0 for fun, selfie-style content. If you want to just shoot with your phone, check out Moment’s amazing lenses for mobile photography. Note: you won’t want to bring a camera or phone into the Blue Lagoon unless it’s totally waterproof.
I also want to mention that plenty of the photos of Iceland we see on social media everyday are highly edited and filtered. The Blue Lagoon’s blue-ness is dependent on the weather, but many photos online are definitely enhanced (granted, it’s still stunning in person). Similarly, Iceland is surprisingly crowded. For such a remote country with not a lot of development, it’s cranking out more and more industry to support the influx of tourism over recent years. Even in the off-season, you will see many, many tourists at the popular waterfalls and hot springs. Photos on Instagram are often Photoshopped to remove unwanted people from the frame. Of course, if you are willing to forego sleep, shooting at sunrise will not only yield better light but less crowds. This means arriving well before sunrise to set up your tripod and wait. Just be warned: other photographers will be doing the exact same thing. While I didn’t experience the whole island, out of the portions I did explore, the Northwestern Fjords were the least populated. Get off the beaten path and venture out! There are plenty of hidden caves, black sand beaches and hot springs dotted all over the country just waiting to be discovered.
Packing + Other Helpful Info
As you’ll be spending so much time in the car, bring snacks from home. I came stocked with a giant bag of trail mix and granola bars, and they were a lifesaver. Iceland is a very remote country, so don’t assume you’ll be able to stop and get a bite to eat along your drive. The same goes for gas: generally speaking, when you see a petrol station, take advantage and fill up! Iceland gas stations only accept debit cards, but be warned: if you select the “fill entire tank” option, a large hold will be placed on your card, which sometimes takes a week or two to reverse. We would just fill up most of the way each time we stopped for gas. Also, important: alcohol is cheaper at Duty Free than grocery stores, so stock up right when you land.
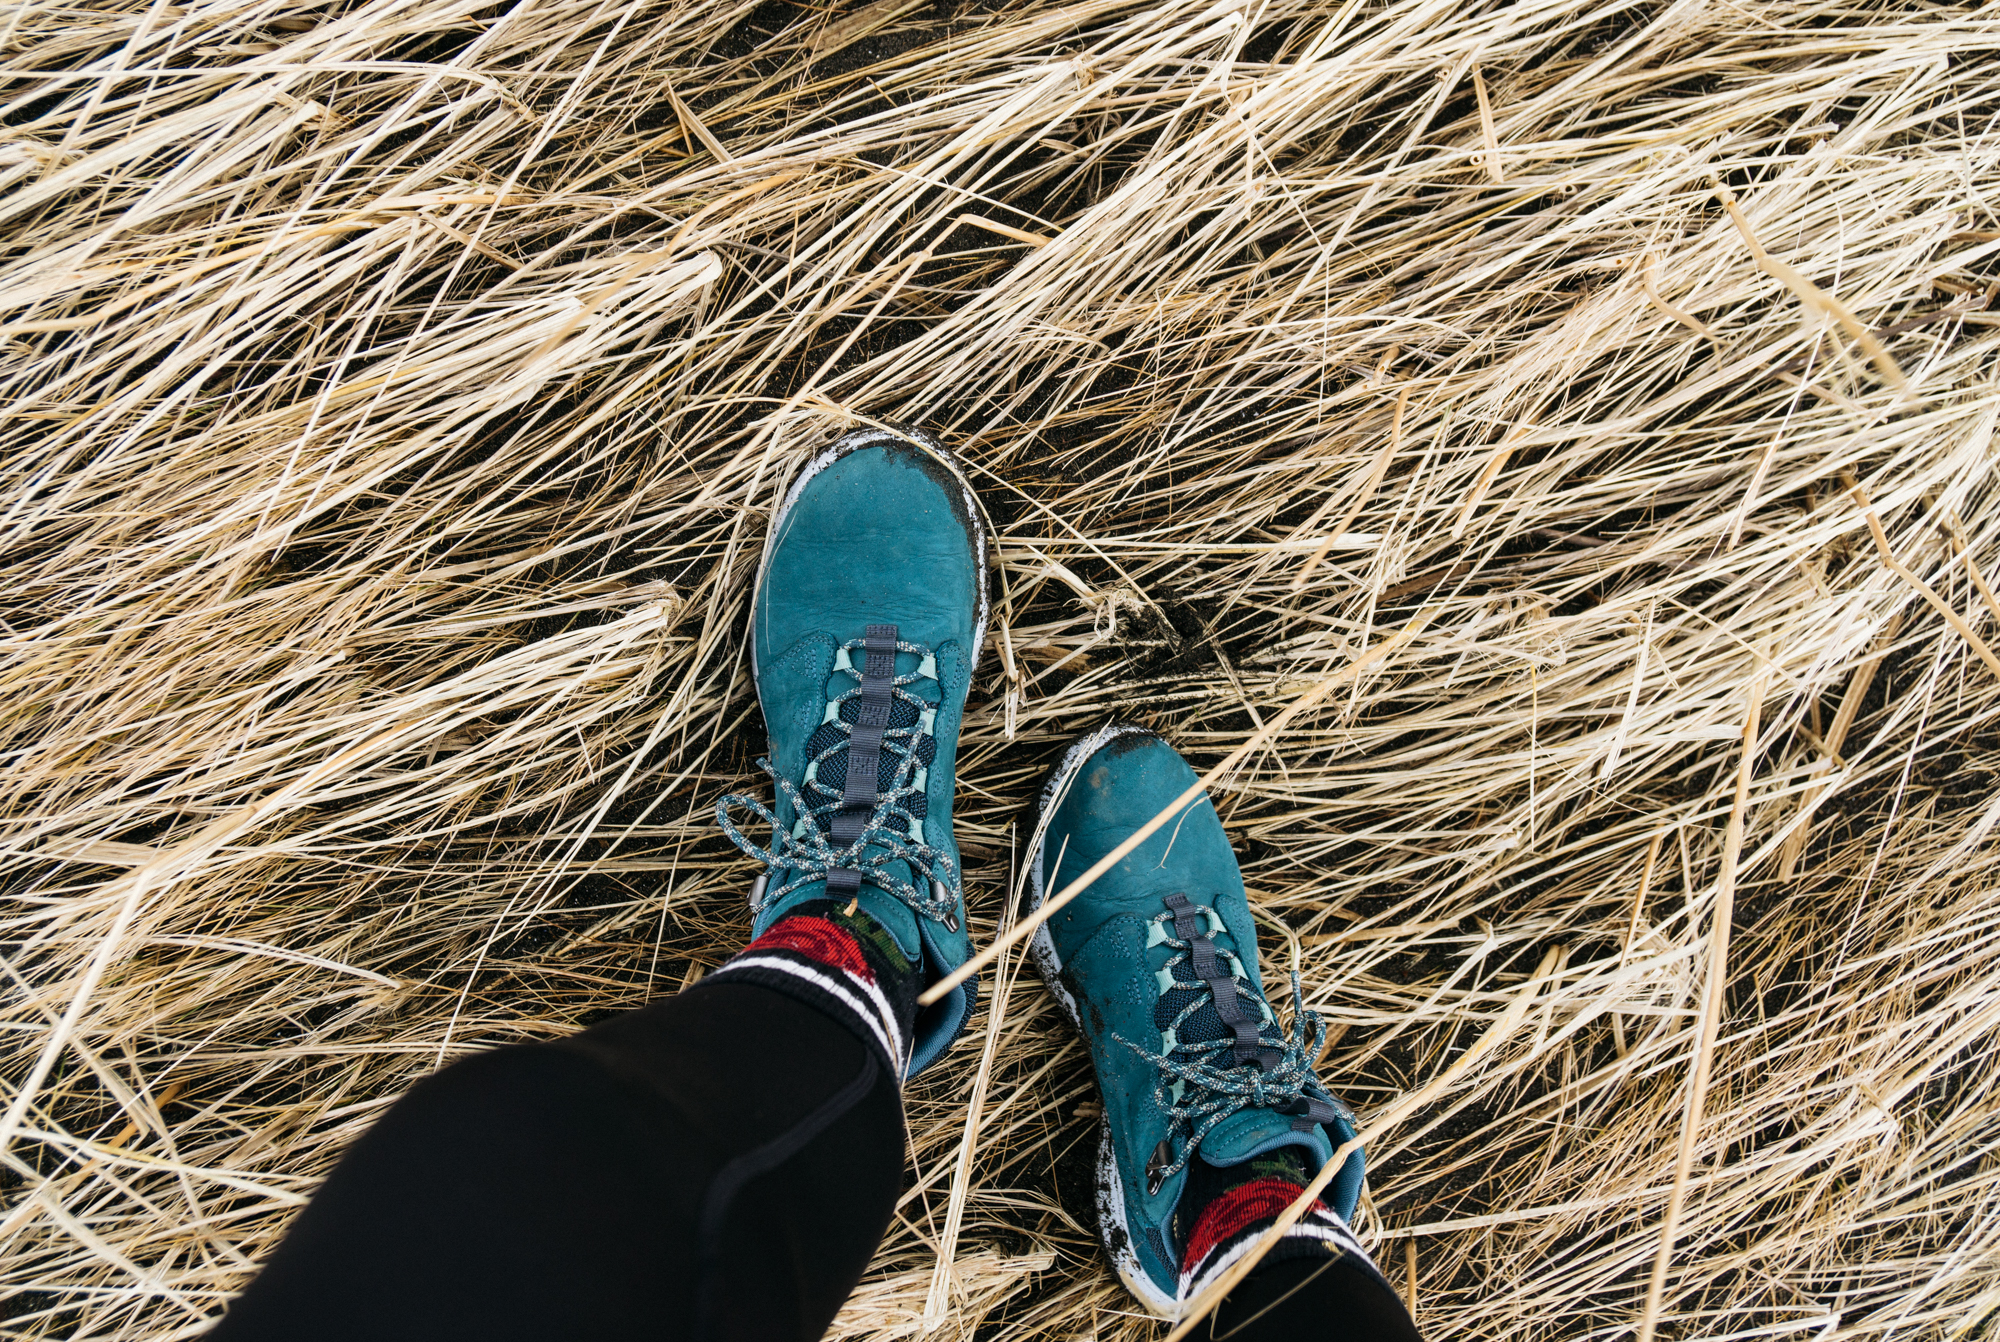
Okay… packing. Layers are essential! I brought too many shoes… I really only needed secure hiking boots (Teva Arrowoods are my go-to), and comfy sneakers for the long car rides. The necessities: a super warm waterproof jacket, hiking pants, leggings, flannels, plenty of warm socks, beanies and gloves. I brought hand warmers but ended up not using them. A headlamp is useful when shooting in the dark. Don’t forget a swimsuit for the hot springs!
Icelanders are some of the friendliest people I’ve met while traveling. I never once ran into a language barrier situation; most Icelanders (especially in more populated areas) can speak English very well. Of course, it’s always polite to learn a few words in Icelandic too!
I planned our entire trip based off Pinterest. Google Maps is a great tool for planning a roadtrip, as you can plug different locations into the trip planner and determine the best route, once you know all the destinations you want to hit. No matter which part of Iceland you choose to explore, I can guarantee you’ll feel as if you’ve barely scratched the surface when you leave. I can’t wait to go back!
However you choose to do Iceland, one thing’s for sure: you won’t regret it. So grab a friend (or 6) and go!

